Checking Website Uptime with Uptime Kuma
This blog post shows how to setup Uptime Kuma behind Nginx Proxy Manager and a firewall.
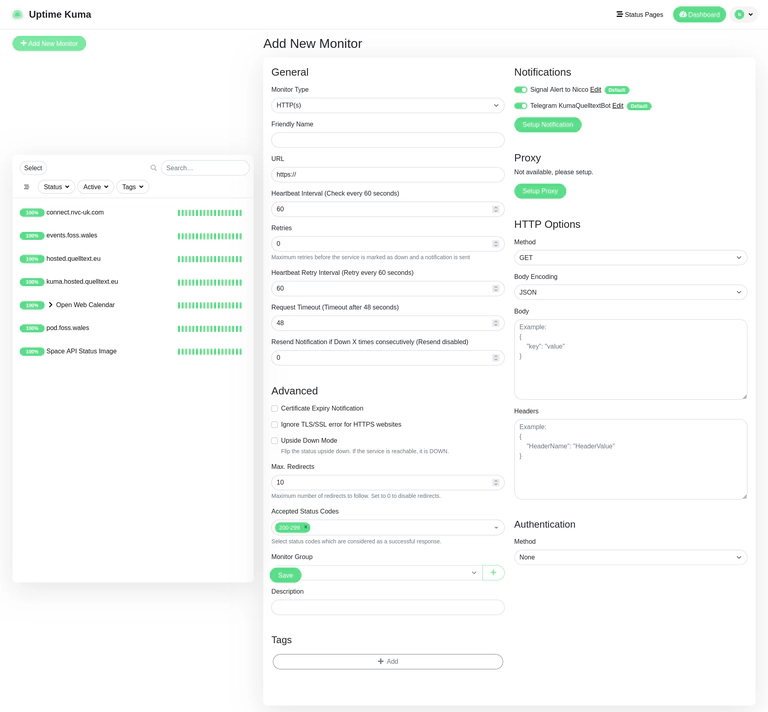
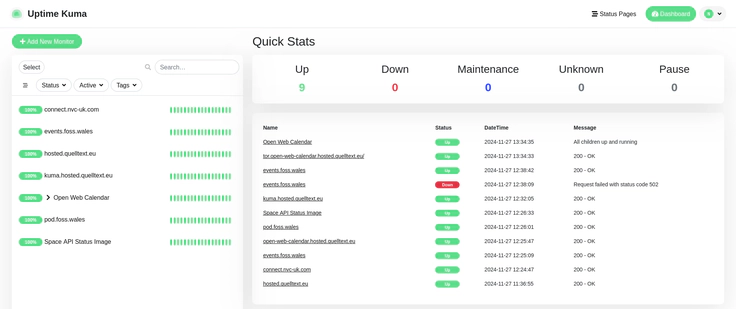 Uptime Kuma configured for several websites
The installation of Uptime Kuma went relatively quickly after having setup Nginx Proxyy Manager in the test blog post.
The structure outlined here will work for many other services that have a docker container.
Add this to the docker-compose.yml file in the services directory:
# docker-compose.yml
services:
  nginx-proxy-manager:
# ... content omitted add what is below ...

  # see https://github.com/louislam/uptime-kuma/blob/1.23.X/docker/docker-compose.yml
  # see https://github.com/louislam/uptime-kuma/wiki/%F0%9F%94%A7-How-to-Install
  uptime-kuma:
    image: louislam/uptime-kuma:1
    container_name: uptime-kuma
    volumes:
      - ./uptime-kuma-data:/app/data
#    ports:
#      - 3001:3001
    restart: always
Then, we can start the service for the first time.
docker compose up -d
Note that at ths point, the service should be running fine.
services$ docker compose up -d
[+] Running 2/0
 ✔ Container uptime-kuma                       Running      0.0s
 ✔ Container services-nginx-proxy-manager-1    Running      0.0s
Adding a domain for the service
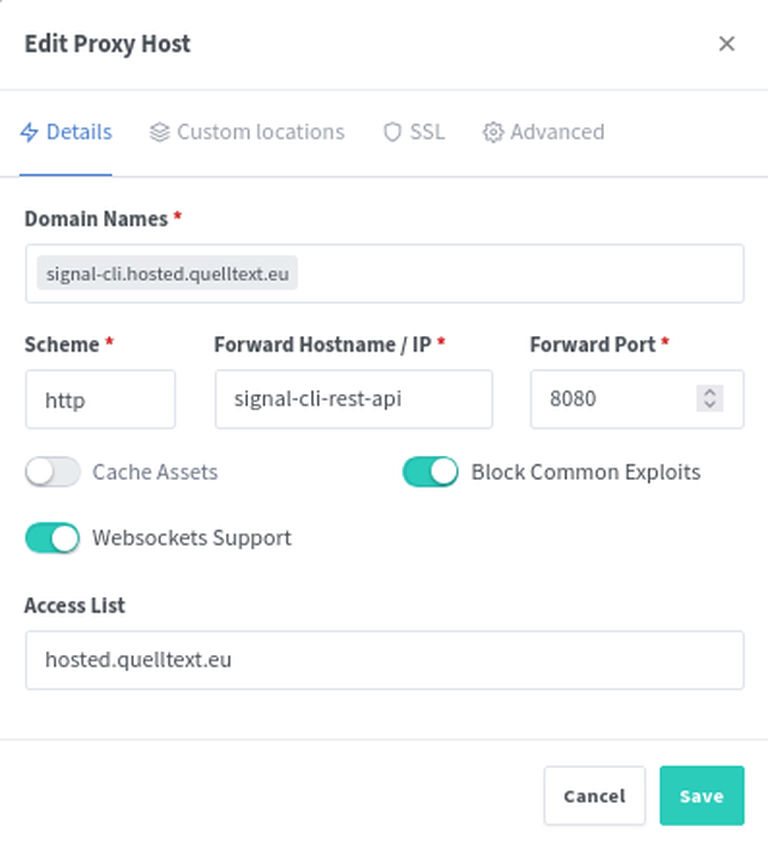
Since in my case, all the traffic to all subdomains is going to the Nginx Proxy Manager, I have to add a domain.
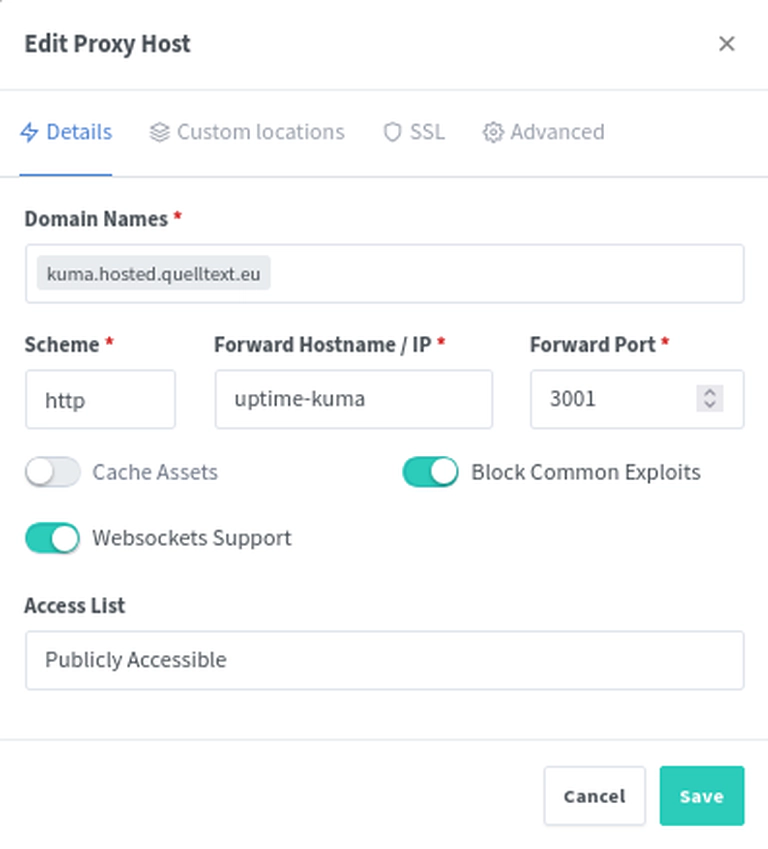
Above:
- http is the protocol of the Uptime Kuma service internally
- uptime-kuma is the docker container name
- 3001 is the port the service runs on
- kuma.hosted.quelltext.eu is the domain
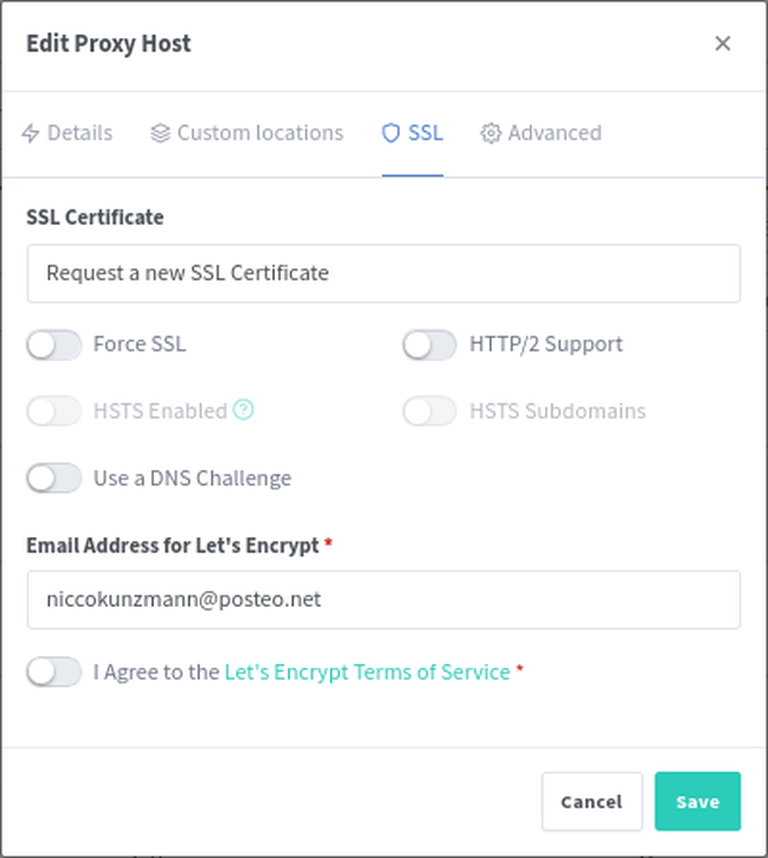
- I request a new ssl certificate that Let’s Encrypt automatically creates for us if the domain is reachable. This way, this service is reachable via https and http.
This service should run once its saved. You can see it online and being equipped with a certificate.

Once the service is up and running, one can create a new account and add a new monitor.
The picture below shows several monitors added for my domains.
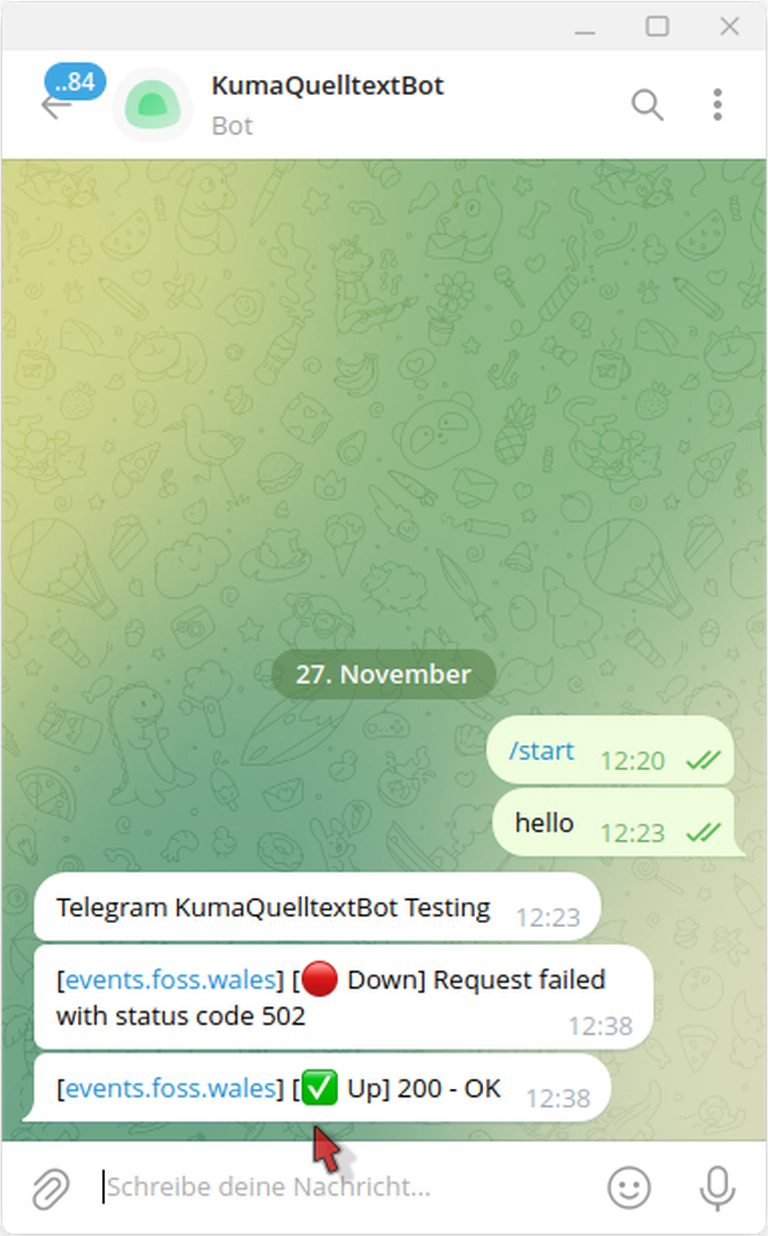
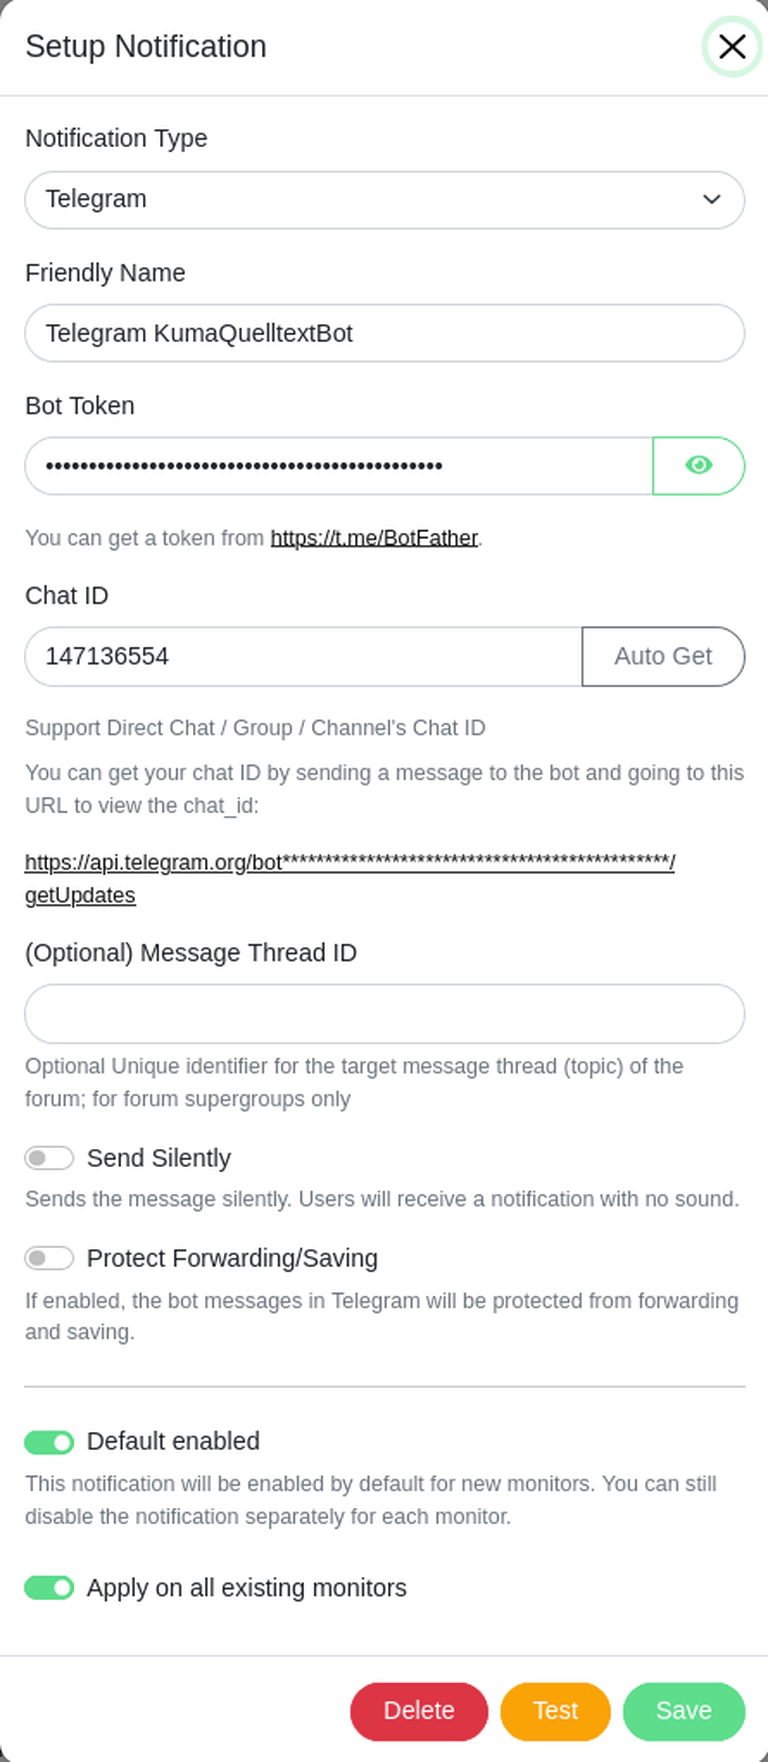
Notifications with Telegram
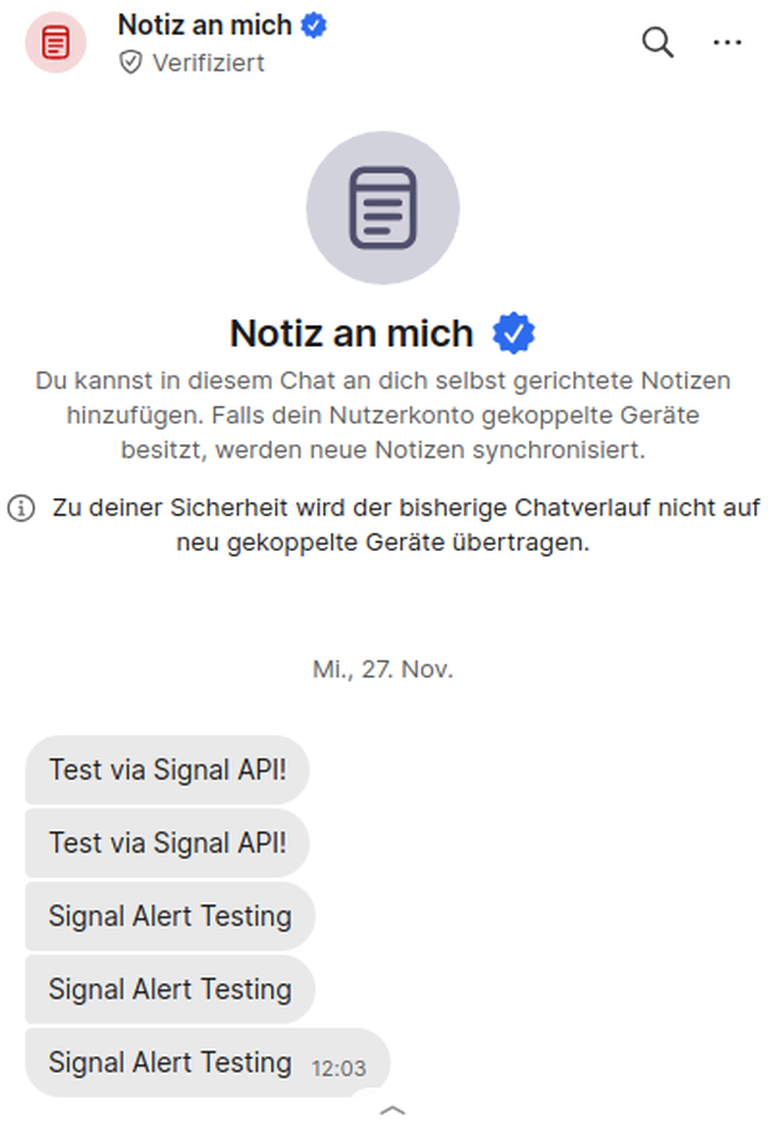
Now, you can monitor the uptime of your services. Probably you would like to add different ways of notifying you. This is possible with the Notification Setup that has many different services that can be used. I used Telegram and Signal.
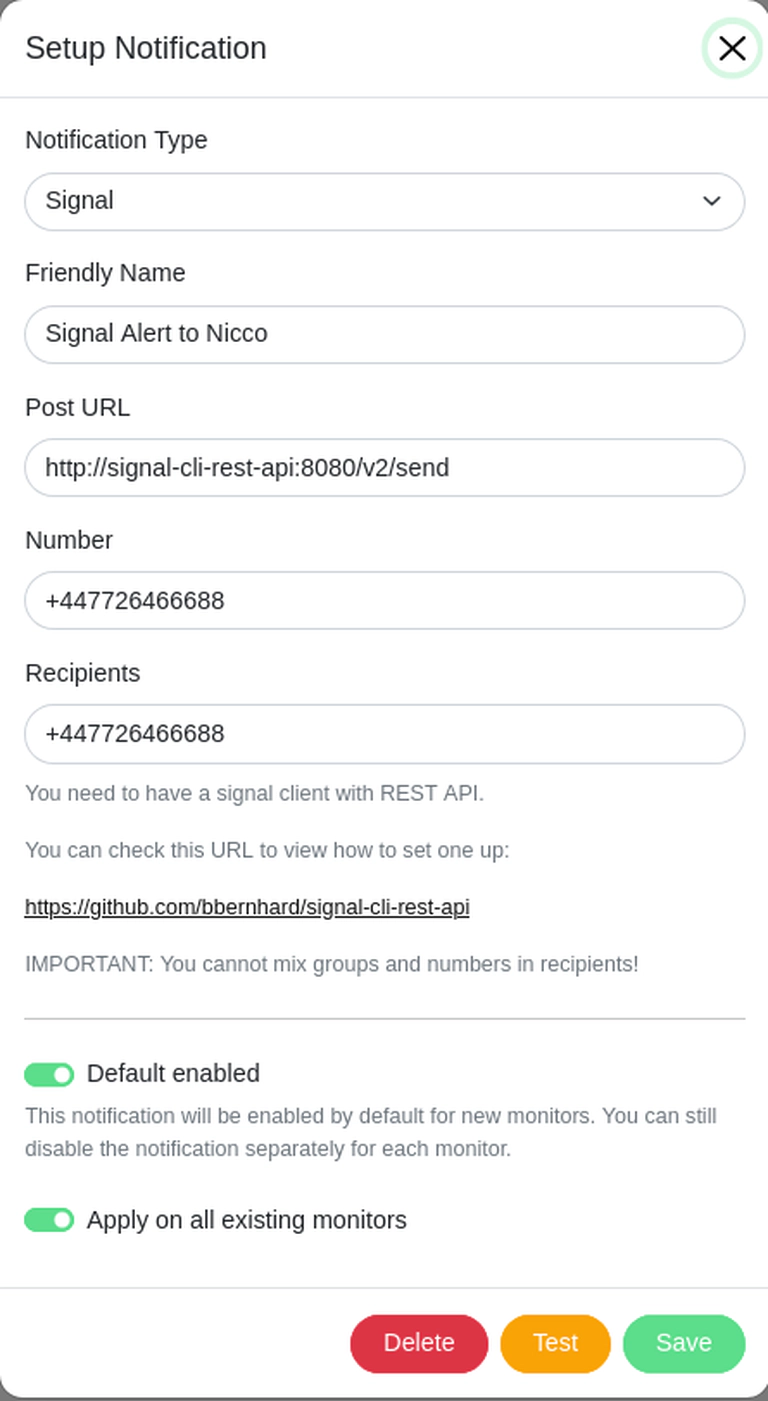
Signal Notification Service for Uptime Kuma in Docker
We can now also run the Signal notification service next to Kuma:
# docker-compose.yml
services:
  # ...

  # see https://github.com/bbernhard/signal-cli-rest-api
  # for signal and uptime kuma
  signal-cli-rest-api:
    image: bbernhard/signal-cli-rest-api:latest
    environment:
      - MODE=native #supported modes: json-rpc, native, normal
      #- AUTO_RECEIVE_SCHEDULE=0 22 * * * #enable this parameter on demand (see description below)
#    ports:
#      - "8080:8080" #map docker port 8080 to host port 8080.
    volumes:
      - "./signal-cli-config:/home/.local/share/signal-cli" #map "signal-cli-config" folder on host system into docker container.
And a quick up:
docker compose up -d
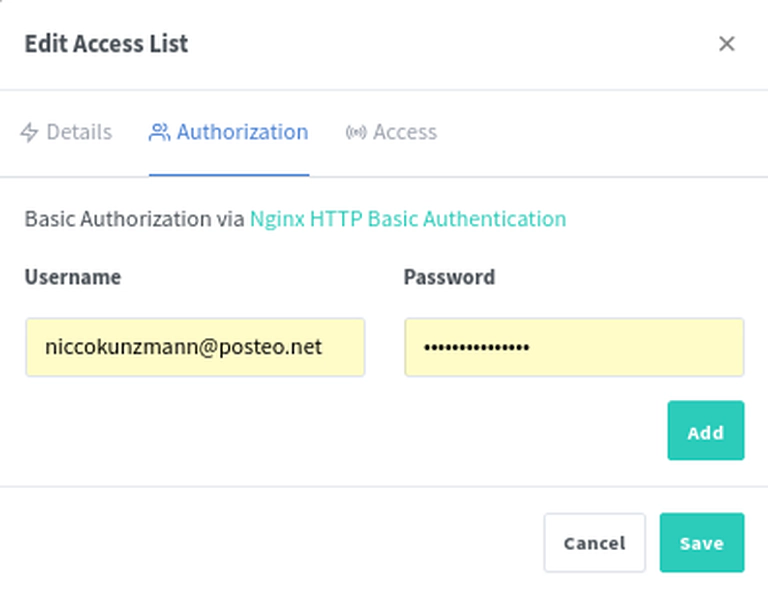
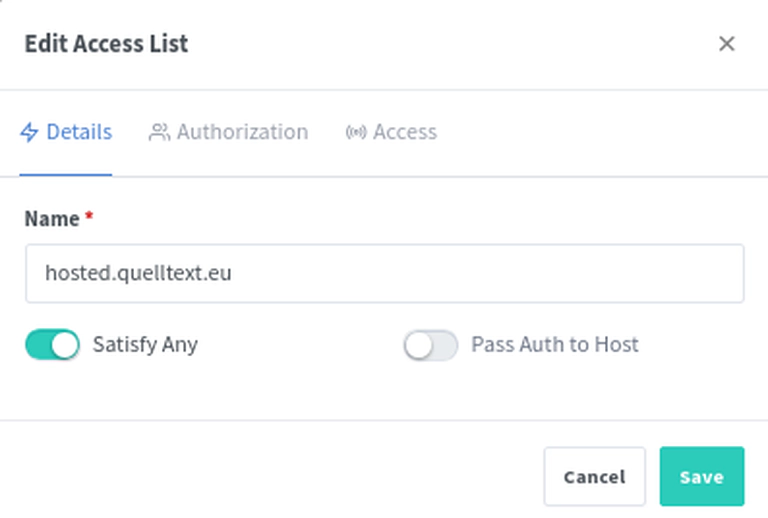
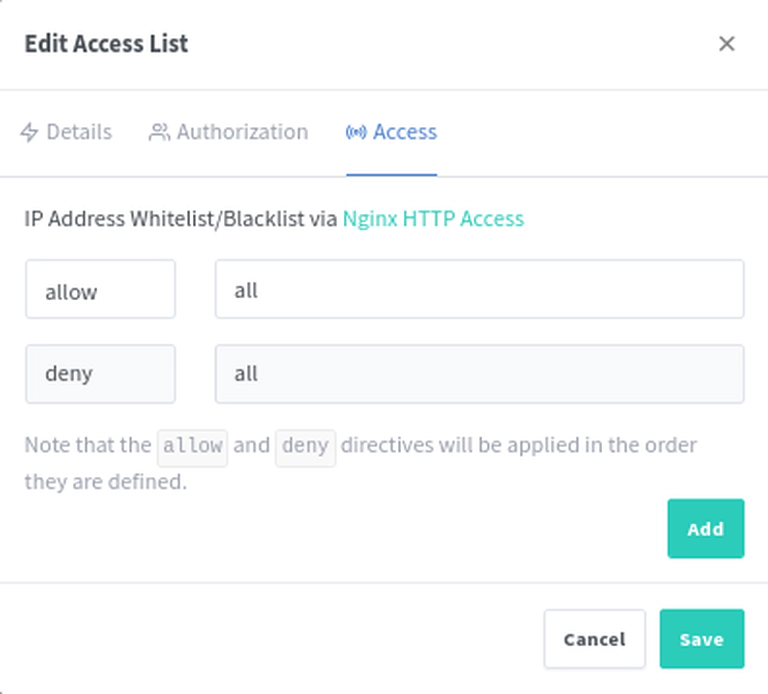
Somehow we want to configure the service as written in the Kuma instructions but also not expose it the we web without a password because that is problematic: Everyone can then send messages from our signal account.
Summary
This post showed how to add a new service Uptime Kuma with docker compose to an server installation behind an Nginx Proxy Manager. The service is accessible via HTTPS issued by Let’s Encrypt.